Showing posts with label DIY. Show all posts
Monday, April 18, 2016

D I Y F A U X M A R B L E T A B L E - I K E A H A C K


- Marble Contact paper found here.
- Ikea VITTSJO Table found here.
- Scissors
- and a credit card to smooth out bubbles.


I am a lover of all things Marble! So naturally I wanted a marble coffee tale without the huge price tag. This is a happy medium for me! (and my hubby haha)


I began by laying out the glass (as you can see, this Ikea set comes with two tables). I then measures the contact paper first, then made my cuts. I made sure all surfaces were smooth and clean, then proceeded to peal and stick! Finally, smooth out the air bubbles.
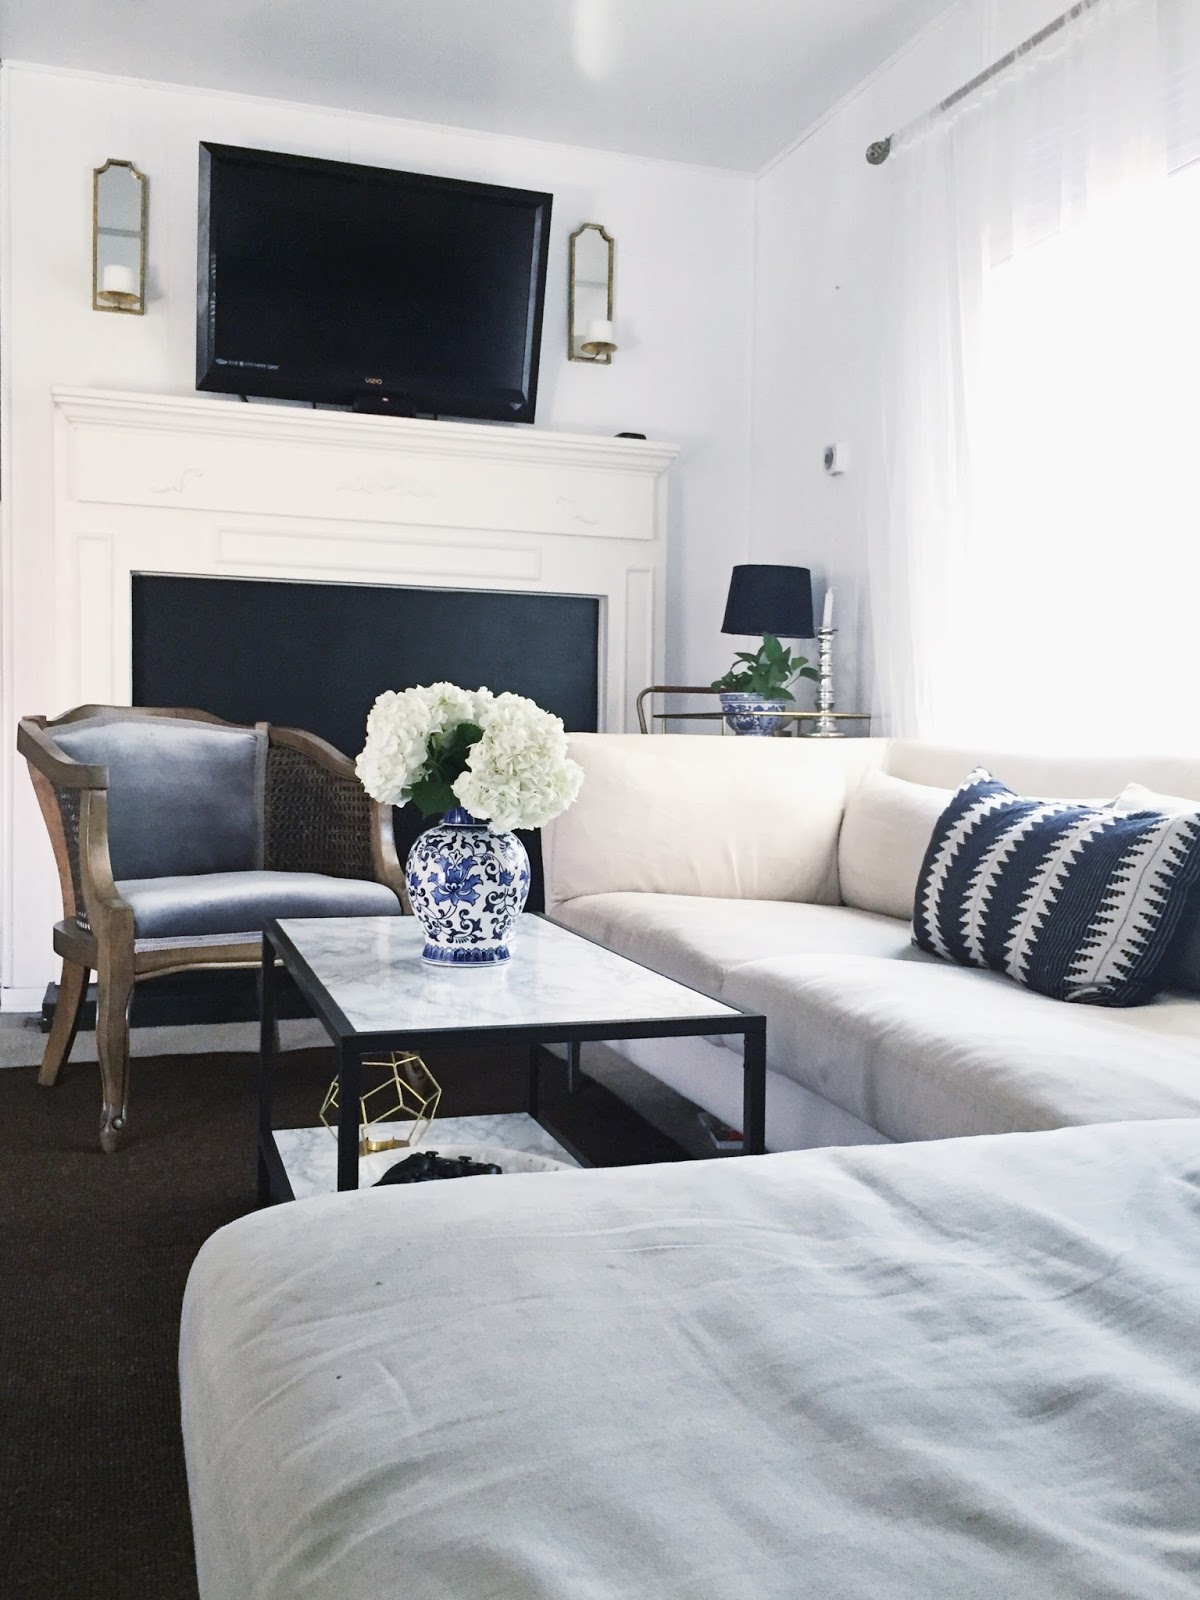
Assemble and enjoy!

   
Monday, February 8, 2016

DIY PAINTED TABLECLOTH


Need a fun and simple X's & O's Tablecloth for you next Valentine's Day party? Or maybe you need something for a more intimate setting such as a romantic dinner? This DIY painted tablecloth would be perfect for both of those! 

You will need:

1. Basic plasic tablecloth, any color of your choice (found at any party supply, Walmart or Target for as little as $1!)

2. Small bottle or acrylic paint, any color of your choice (found at craft stores $1-3)

3. Paint Brush, any size of your choice.

4. Small container, cup or bowl to put paint in.


Begin by spreading out the table cloth on a flat surface. I choose to spread mine out in my livingroom and it took up about a 1/4 of m space! Next, pour your paint into your container, bowl or in my case, plastic cup. 


Now for the fun part, start painting your X's & O's onto your tablecloth! You can paint them as big or as small as you'd like anywhere you'd like! Let you imagination run free. Painting should only take about fifteen minutes and once you are done, allow to dry over night just to be safe.    


All that's left to do is to throw it over your table, set out the yummy treats and enjoy!

Love, 
Jessica

G A L E N T I N E S D A Y


Over the weekend, I hosted a Galentine's Day Party at my house with my sisters & gal pals from church. We shared laughs, yummy treats, spent the night making Valentine's Day cards for our loved ones and taking lots of photos on my Instagram fiji mini! 

I am aware that Valentine's Day is over commercialized, actually, pretty much every holiday is! But I just can't help but to fall right in and celebrate. I love reasons to celebrate, get dressed up and make my home all pretty! I am such a girl and I love it! My aim is to always keep Christ at the center and come together with those that I love. 

Valentine's Day is fast approaching, what do you ladies have planned? My husband and I love to stay in and avoid all the commotion. We decided to take turns on who gets to plan Valentine's Day and this year its my husbands turn! 

Whether you have plans or not, just remember that you are lovedRomans 5:8 - "But God demonstrates His own love for us in this: While we were still sinners, Christ died for us." There is no better Valentine than my first love, Jesus. God IS love, so as long as we have Him, we have all that we need. 

Hope you all have a blessed and productive week! 

Love, 
Jessica
Tuesday, May 12, 2015

DIY WALL DECOR

 
Its Friday ladies! Incase you have some free time this weekend and would like to add a lil somethin' somethin' to that plain white wall in your home, here's a cute and inexpensive DIY! You will need: spoons, cardboard, scissors, spray paint (your chose of color), glue & glue gun and any size mirror you'd like!


Once you gather all your materials, you will then need to cut & trace your cardboard and snap your spoons (I had my strong handsome husband help me with that part, thank you my love!) Begin by gluing the spoons from the outside in, and when you finally get all the spoons glued on, its time to spray! Hold off on gluing the mirror until once the spray paint has dried.


After the paint has dried and the mirror has been glued, you will need to create a backing to hang it up (I forgot to take a picture of the back but all I did was create a loop with some twine and glued it).


Hope you ladies enjoyed this fun, simple and inexpensive DIY. Please feel free to email me or comment below your questions and share with me your finished pictures! Have a blessed weekend <3